21 pages
The same pages serve zone B, zone C, the companion and the pit wall zones, each laid out for the box it gets.
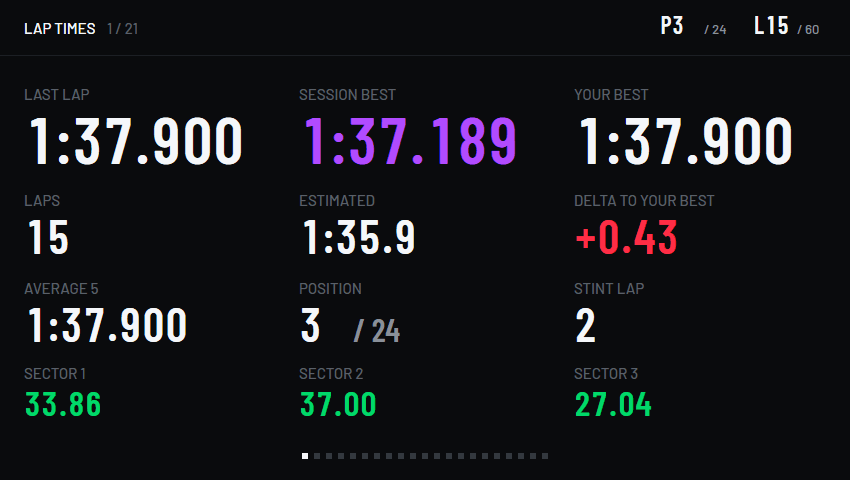
01
Lap times
Last, session best and your best, with laps, estimate and delta.
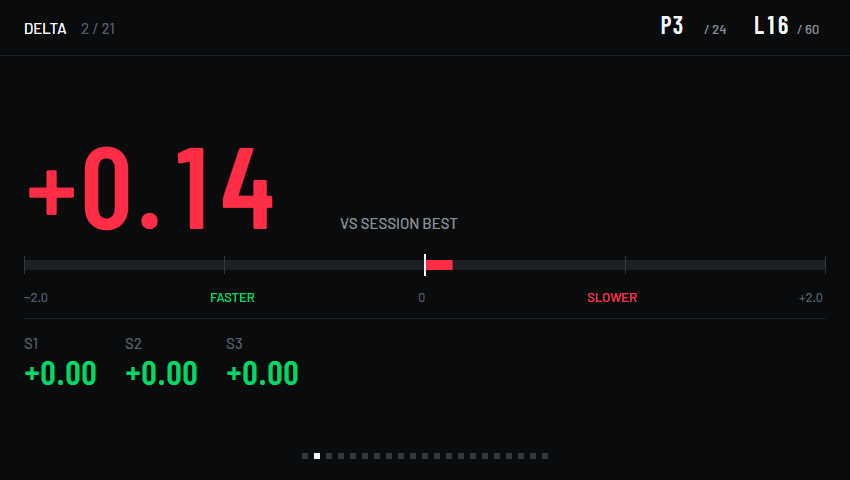
02
Delta
Live delta to the reference lap on a centre-zero bar.
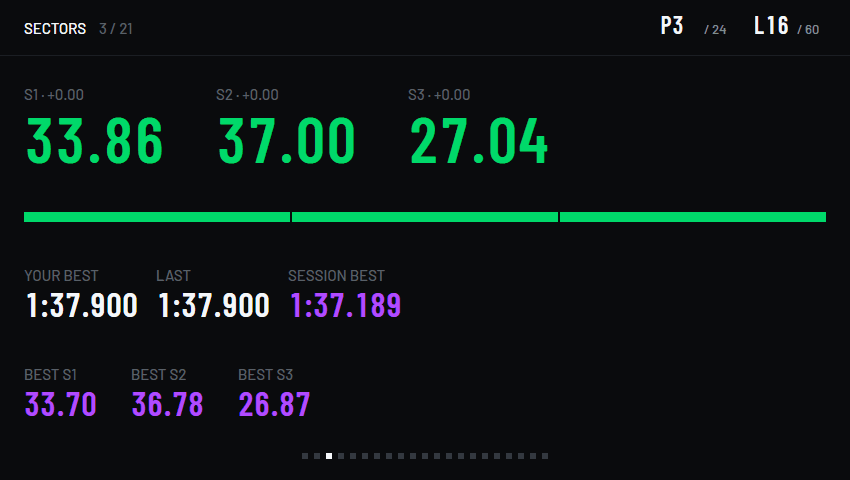
03
Sectors
The three sectors of the last lap with their deltas.
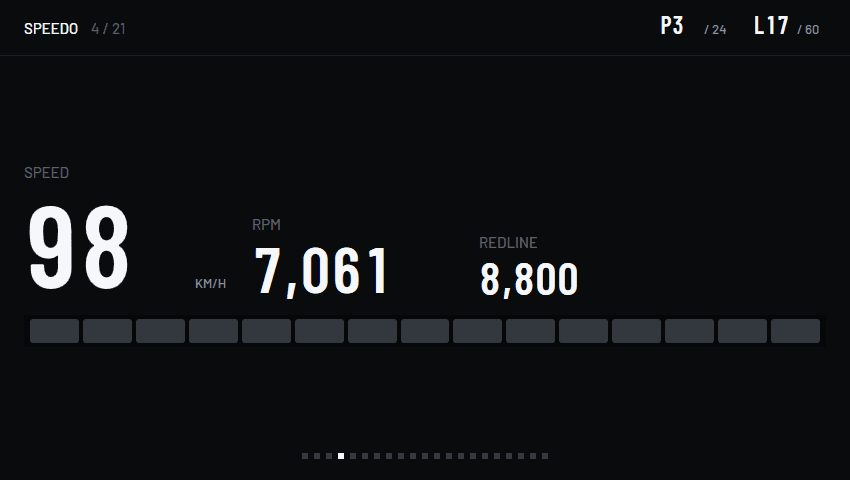
04
Speedo
Speed, RPM, redline and the shift bar.
05
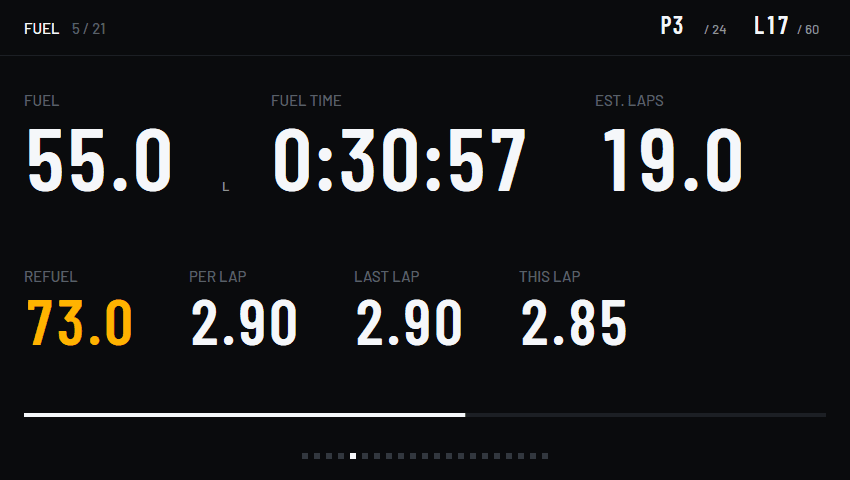
Fuel
Fuel left, time left, what to add and the per-lap use.
07
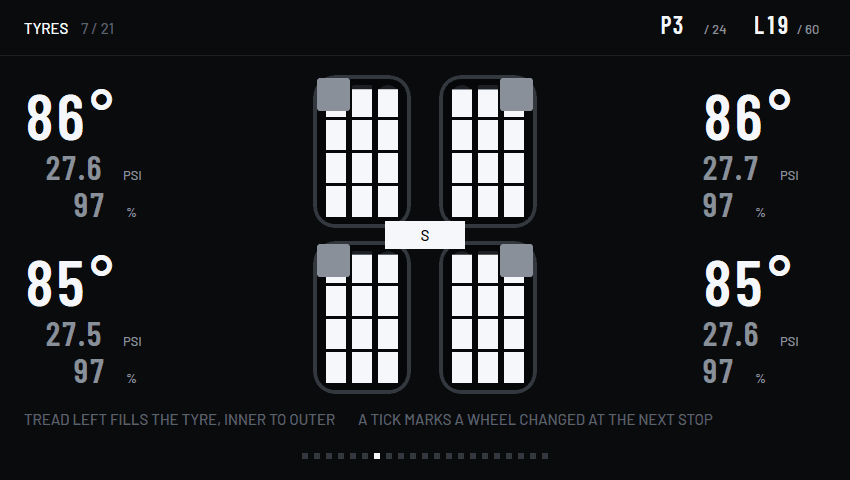
Tyres
Temperature, pressure, wear and compound per corner.
08
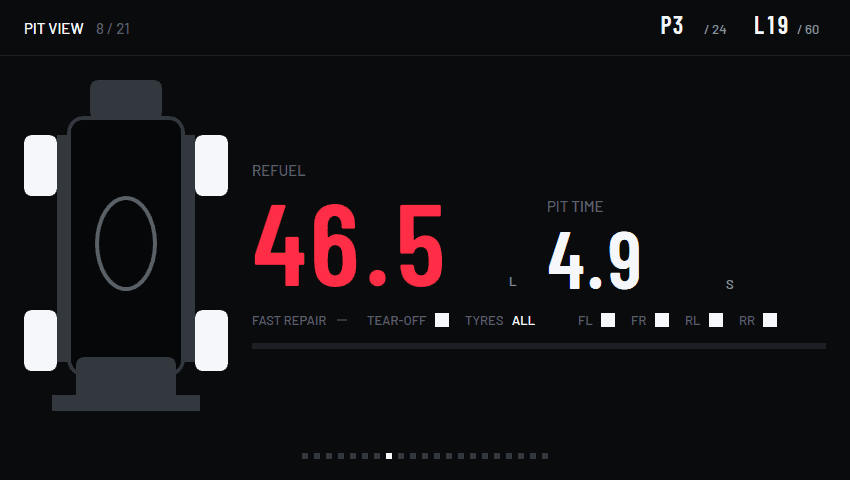
Pit view
The pit service order: fuel, tyres, repairs and tear-off.
09
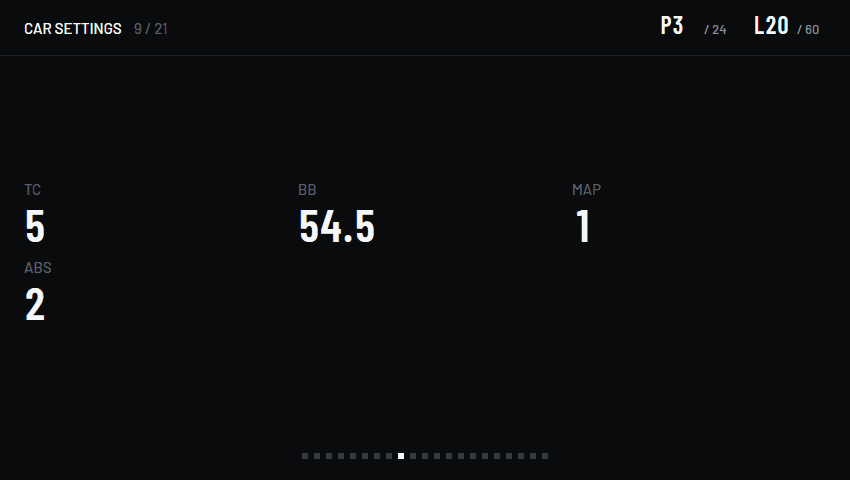
Car settings
TC, ABS, brake bias, mixture and anti-roll bars.
10
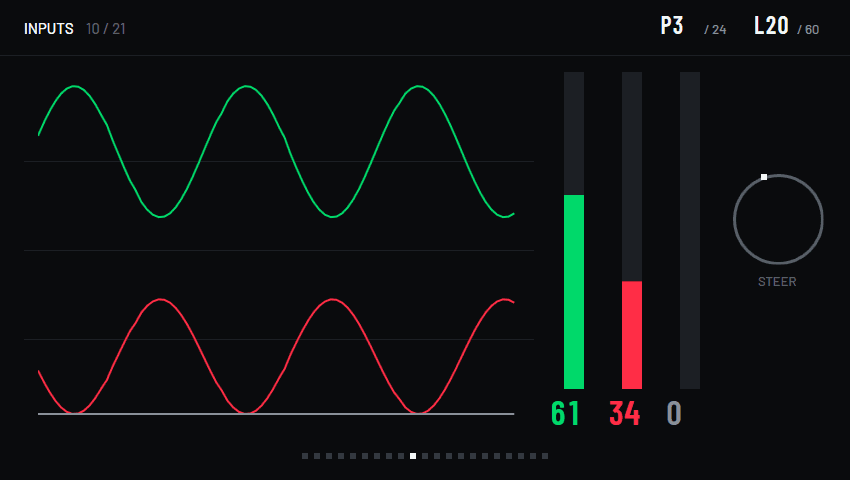
Inputs
Throttle, brake and clutch traces with bar gauges.
11
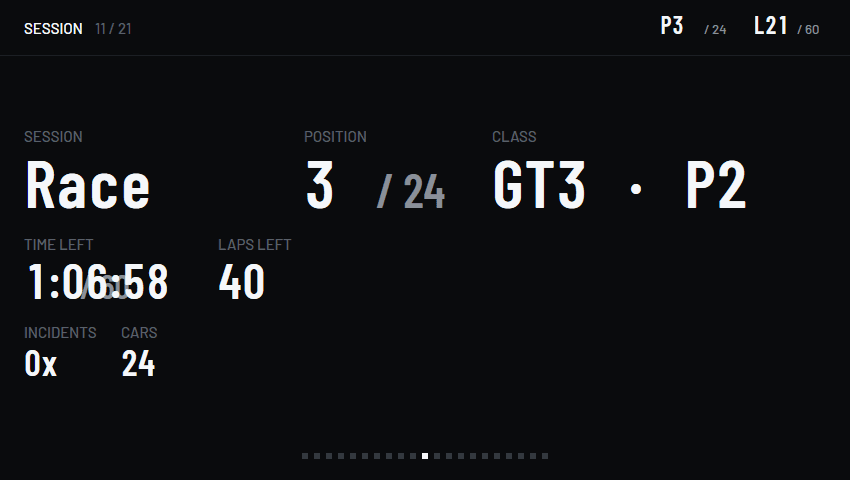
Session
Session type, position, class, lap and time left.
12
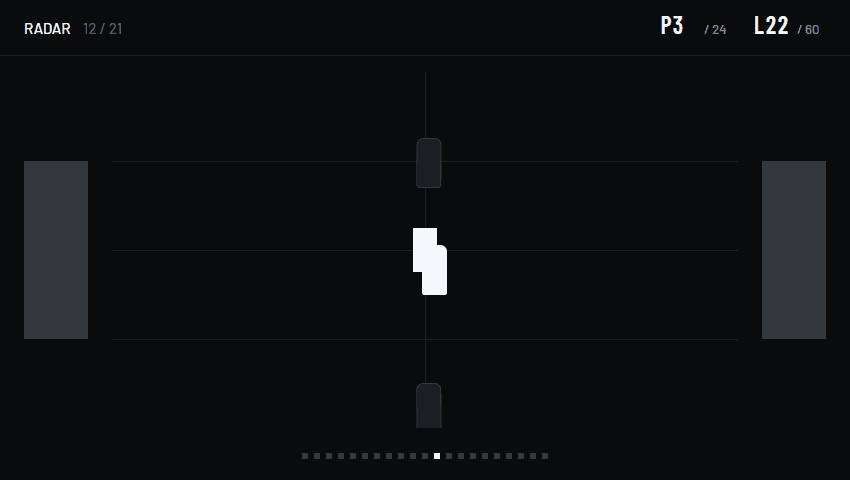
Radar
Proximity radar with the spotter on both sides.
13
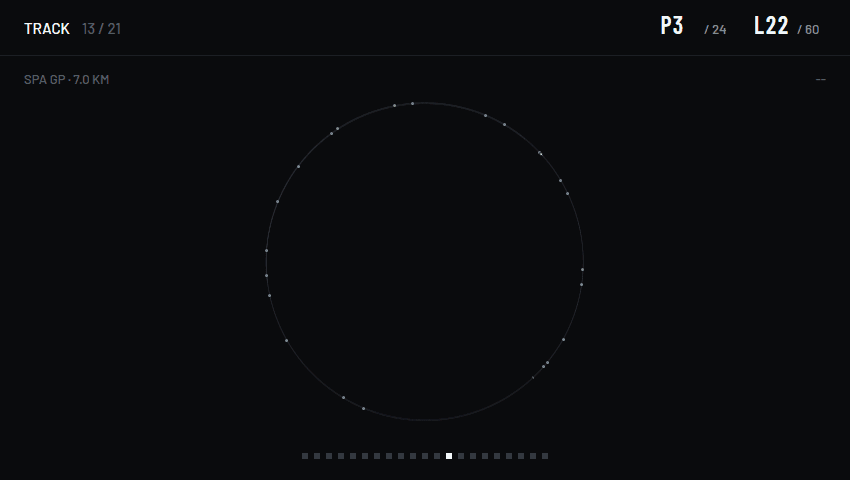
Track
The track map with every car on it.
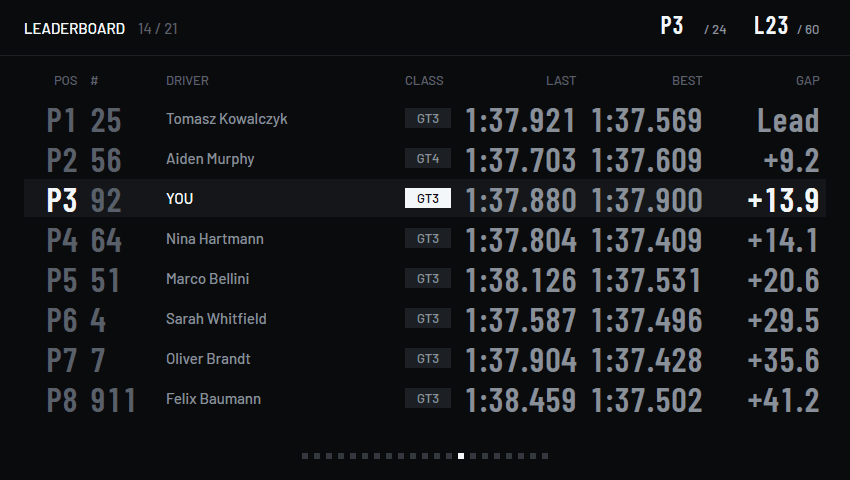
14
Leaderboard
Position, driver, class, gap, best and last.
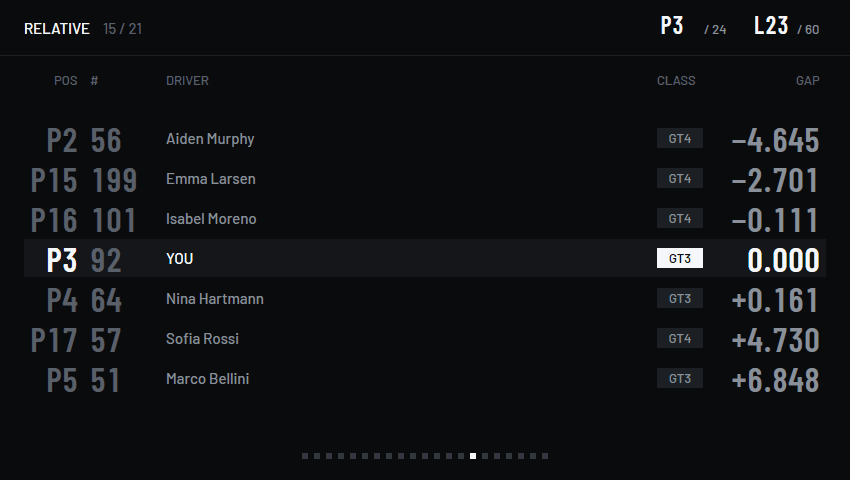
15
Relative
The cars around you on track, you in the middle.
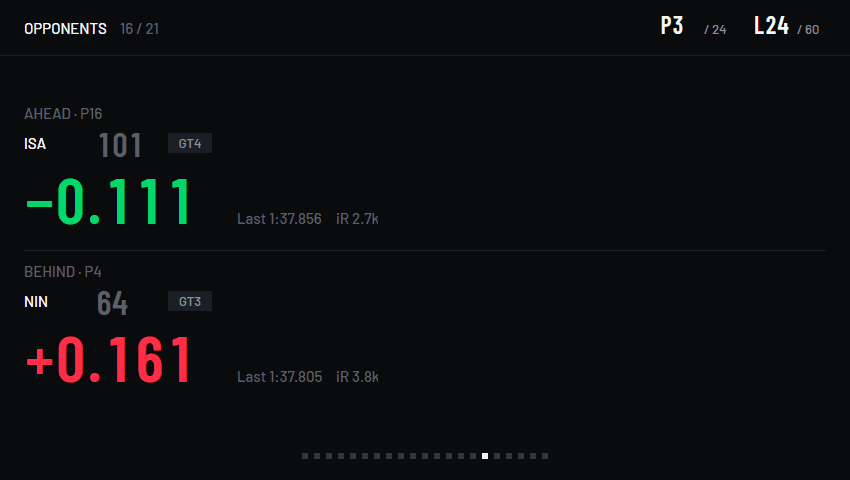
16
Opponents
The car ahead and the car behind, in detail.
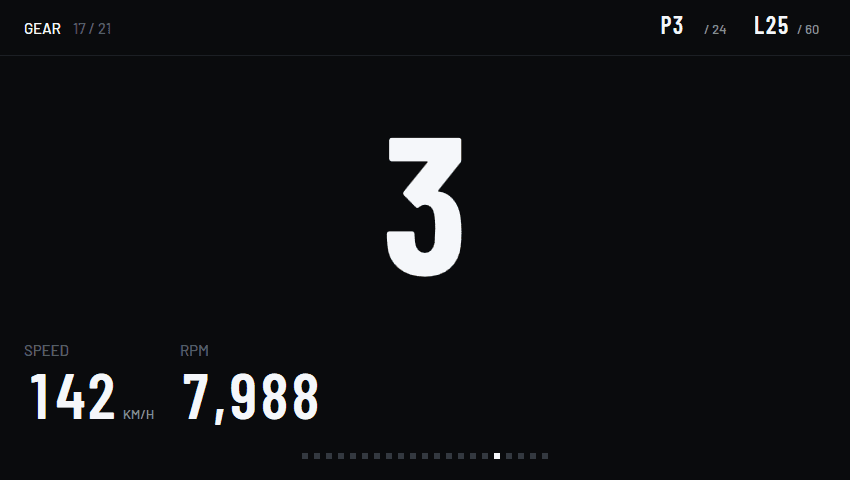
17
Gear
The gear, as large as the screen allows.
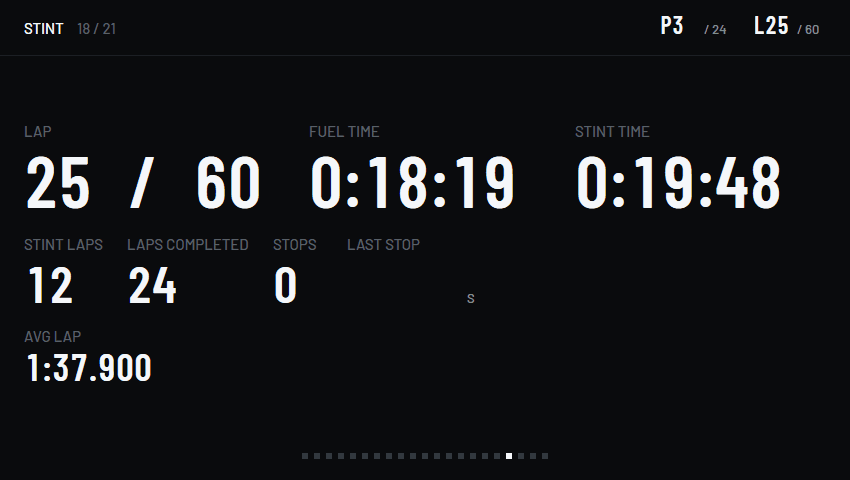
18
Stint
Stint laps and time, stops and the last stop.
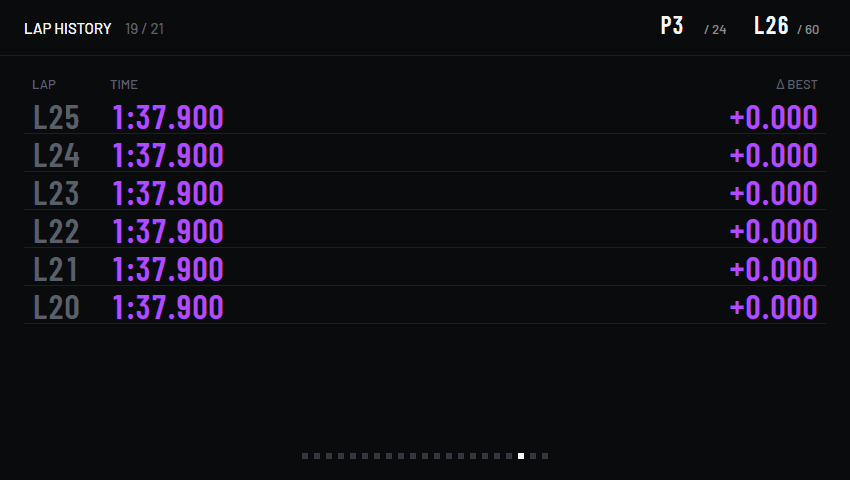
19
Lap history
Your last laps with the delta to the session best.
The track page’s outline is what SimHub recorded from the emulator’s lap. On a rig it is the circuit.
More pages on the face
Zone A, band D and the bar have catalogues of their own, sized for their shapes.
- Zone A, 4 pages
- Gear, speed, revs · Gear alone · Speed · Track
- Band D, 8 pages
- Fuel · Energy · Stint · Tyres · Weather · Sectors · Relative · Car
- The bar, 10 fields
- Race time · Lap · Time left · Clock · Simulated time · Position · Class · Incidents · Air temperature · Track temperature
- Pit wall zones, 11 pages
- Fuel · Tyres · Opponents · Pit view · Relative · Leaderboard · Lap history · Web view · Inputs · Radar · Sectors
Quick glance
Hold a wheel button and one zone shows a page you chose. Release it and the zone goes back.